Cement plastering, also known as rendering or stucco, is a common method used to cover and protect walls and ceilings. Here’s a general step-by-step process for doing cement plastering
The process of cement plastering involves a strategic response to the increasing demand in the infrastructure and housing sectors. The Indian cement industry is on the brink of a substantial expansion, planning to add 145-160 million tonnes of capacity from FY25 to FY28.
Construction Materials Used in Cement Plastering:
Table of Contents
Toggle- Cement: The primary binding material .
- Sand: sand Provides bulk and workability to the plaster mix.
- Water: Necessary for the hydration process and achieving the right consistency.
- Fiber Mesh (Optional): Adds strength, especially in exterior plastering.
- Metallic Corner Beads: For sharp and durable edges in corners.
- Plastering Trowel: Essential for applying and smoothing plaster.
- Hawk (Plasterer’s Tool): A tool to hold and transport plaster.
- Spirit Level: Ensures an even and level surface.
- Sponge: Used for achieving textured finishes.
- Mixing Bucket: For combining and preparing the plaster mix.
- Bonding Agent (Optional): Enhances adhesion, especially on smooth surfaces.
- Safety Gear (Gloves, Goggles): Ensures safety during the plastering process.
the cement plastering process into three distinct parts: Pre-Plastering, During Plastering, and Post-Plastering.
Part 1: Pre-Plastering
1. Surface Preparation:
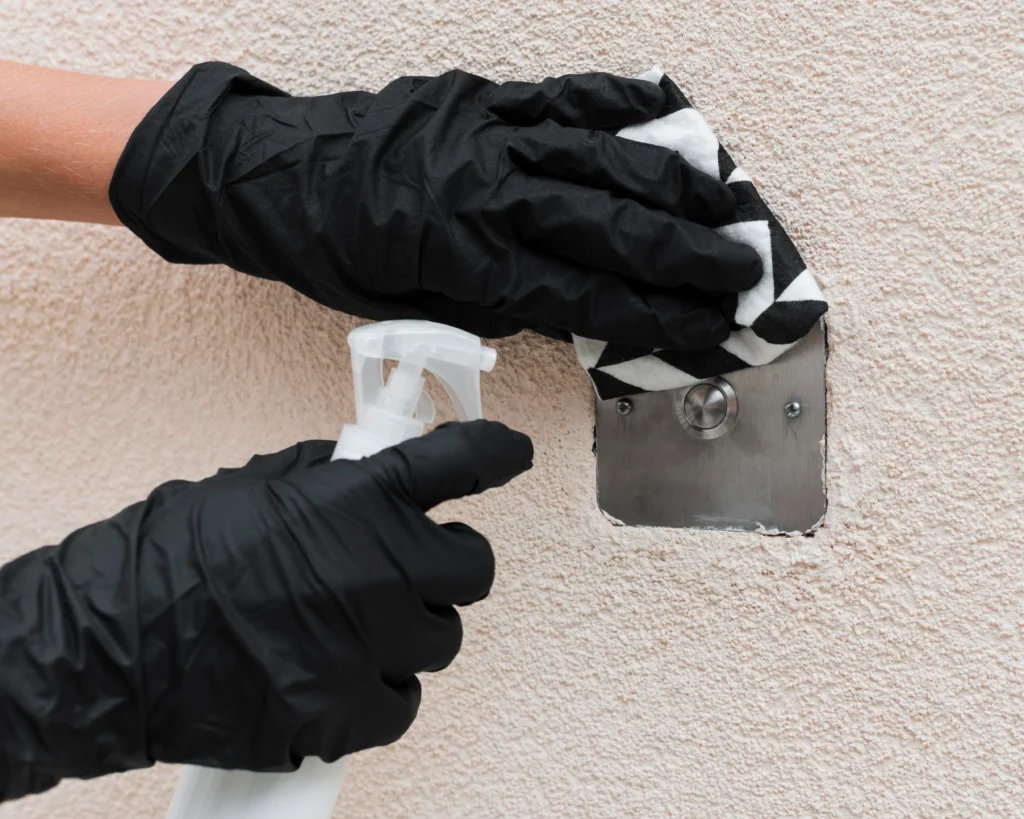
- Clean the surface thoroughly, removing any dust, dirt, or loose particles.
- If the surface is highly absorbent, dampen it with water to prevent rapid suction of water from the plaster mix.
2. Mixing the Plaster:
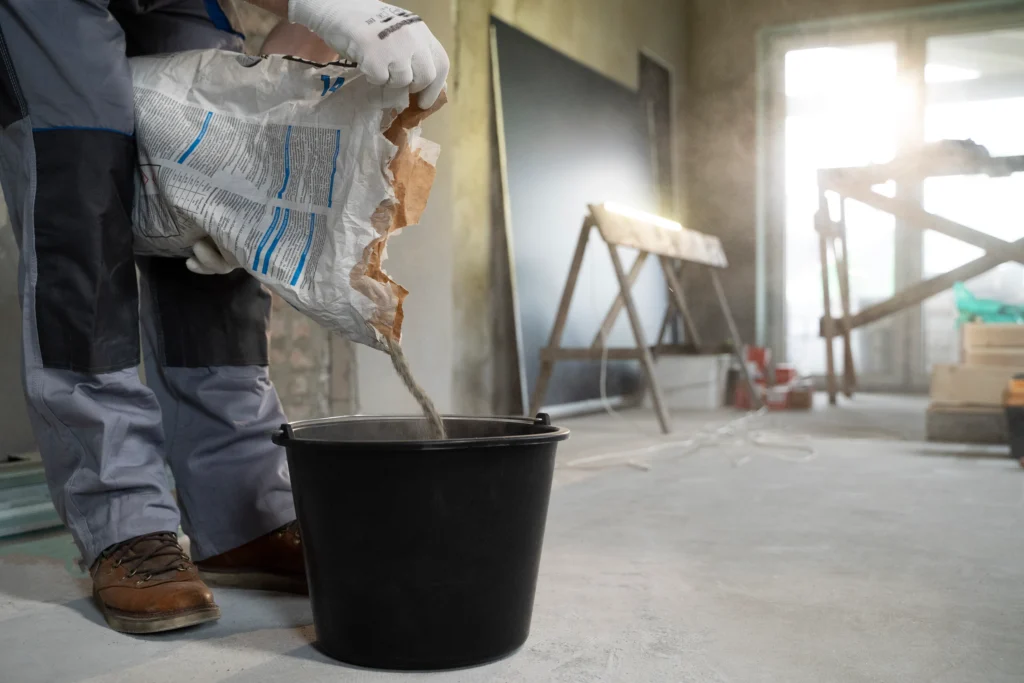
- In a mixing bucket, combine cement and sand in the desired ratio. A common mix is 1 part cement to 3 parts sand, but this can vary based on the project requirements.
- Gradually add water and mix until you achieve a smooth, lump-free consistency. The mix should be workable but not too thin.
3. Applying Bonding Agent (Optional):
- Apply a bonding agent if needed, especially on surfaces that are smooth or less porous. This enhances the adhesion of the plaster.
Part 2: During Plastering
4. Applying the First Coat (Scratch Coat):
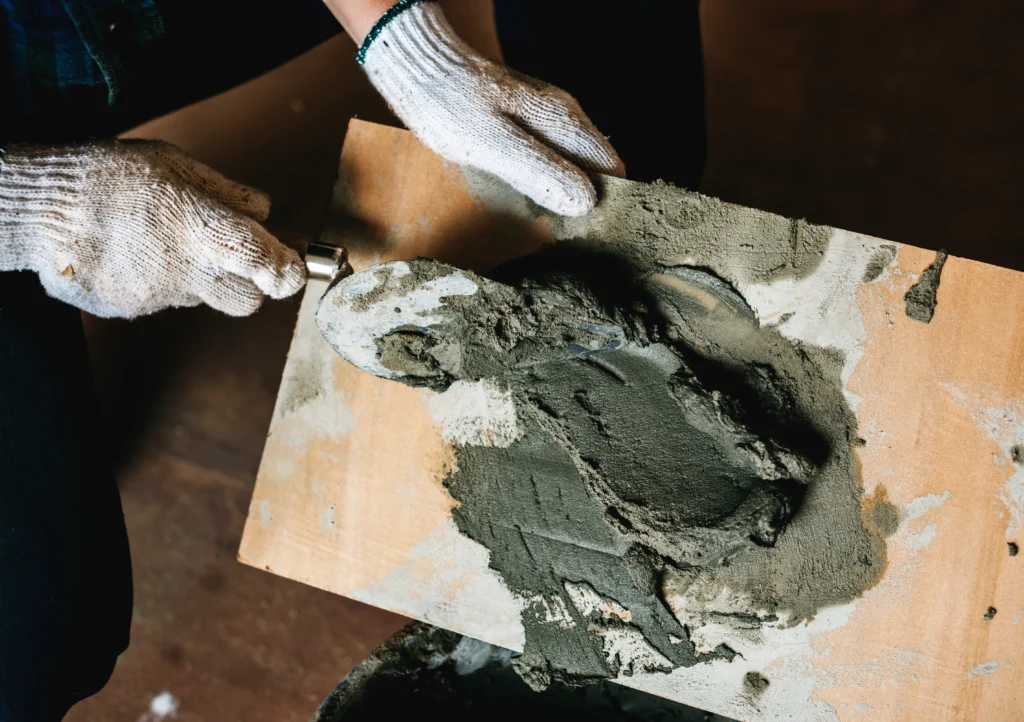
- Use a plastering trowel to apply the first coat, also known as the scratch coat, onto the surface.
- Apply the plaster in a thin, even layer, scratching the surface with the trowel to create a rough texture. This helps the next coat adhere better.
5. Applying the Second Coat (Brown Coat):
- Once the scratch coat has set but is still slightly damp, apply the second coat, known as the brown coat.
- Use a plastering trowel to achieve a smooth and even surface. Feather the edges to blend with the existing surface.
6. Smoothing and Leveling:
- Use a straight edge or spirit level to ensure an even and level surface. Correct any uneven areas by adding or removing plaster as needed.
7. Finishing Coat (White Coat or Finish Coat):
- Apply the finishing coat once the brown coat has set but is still damp.
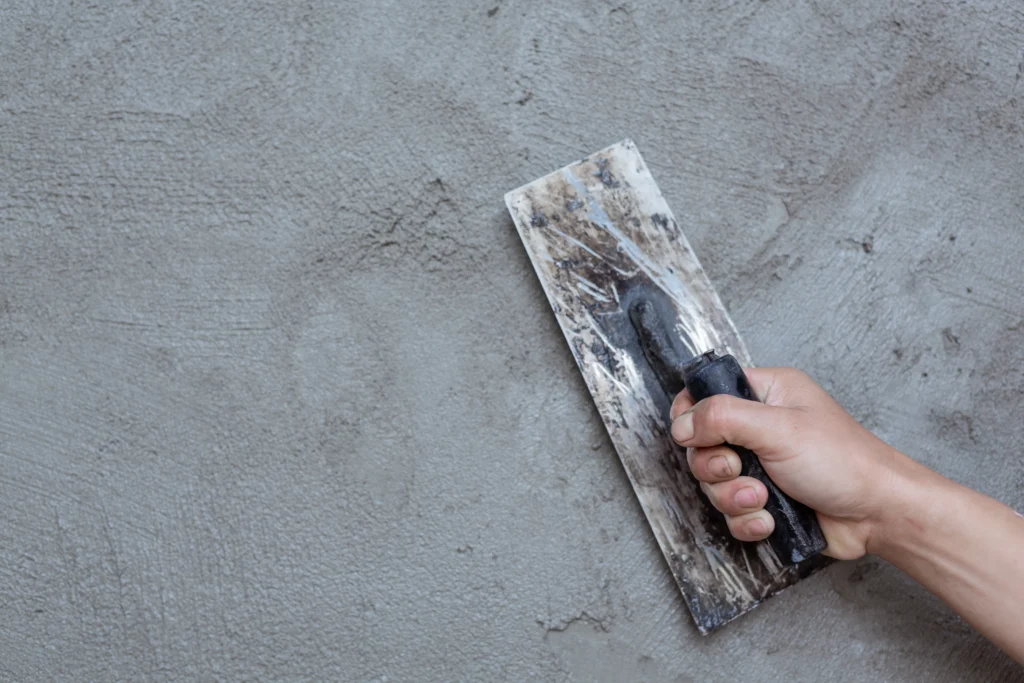
- Achieve a smooth finish using the plastering trowel. For a textured finish, you can use a sponge or other tools.
8. Optional: Adding Fiber Mesh or Reinforcement:
- In some cases, especially for exterior plastering, adding fiber mesh to the mix or embedding it in the brown coat can enhance the plaster’s strength.
Part 3: Post-Plastering
9. Curing:
- Allow the plaster to cure slowly. Keep the surface damp for a few days to prevent rapid drying, which can lead to cracks.
10. Final Inspection:
- Inspect the finished plaster for any defects or uneven areas. Touch up as necessary.
11. Optional: Install Metallic Corner Beads:
- If needed, install metallic corner beads for corners to ensure sharp and durable edges.
12. Cleaning Up:
- Clean your tools and dispose of any excess material properly.
Always follow local building codes and guidelines, and consider consulting with a professional if you’re unsure about any specific requirements for your project. The steps outlined here are a general guide, and actual practices may vary based on the type of plaster and specific project requirements.
Related questions
Clean the surface thoroughly, removing any dust, dirt, or loose particles. If the surface is highly absorbent, dampen it with water to prevent rapid suction of water from the plaster mix.
A common mix is 1 part cement to 3 parts sand, but ratios can vary based on project requirements. Gradually add water and mix until achieving a smooth, lump-free consistency.
A bonding agent enhances adhesion, especially on smooth or less porous surfaces. It is applied before plastering to improve the bond between the substrate and plaster.
Essential tools include a plastering trowel, hawk (plasterer’s tool), spirit level, sponge, and mixing bucket. Safety gear such as gloves and goggles is also crucial.
List of Materials used in Cement plastering
Cement
Sand
Water
Fiber Mesh (Optional)
Metallic Corner Beads
Plastering Trowel
Hawk (Plasterer’s Tool)
Spirit Level
Sponge
Mixing Bucket
Bonding Agent (Optional)
Safety Gear (Gloves, Goggles)
Adding fiber mesh to the mix or embedding it in the brown coat is optional but recommended for exterior plastering. It enhances the plaster’s strength and durability.
Allow the plaster to cure slowly, keeping the surface damp for a few days. This prevents rapid drying, reducing the risk of cracks and ensuring a durable finish.
Wear safety gear, including gloves and goggles, to ensure protection. Follow proper lifting techniques, use tools safely, and adhere to all safety guidelines.
Yes, metallic corner beads are suitable for all types of corners and are essential for ensuring sharp and durable edges.
To achieve a textured finish, use a sponge or other tools during the application of the finishing coat. Experiment with different techniques for desired textures.
Inspect for defects such as uneven areas, cracks, or incomplete coverage. Touch up any imperfections to ensure a high-quality finished surface.


